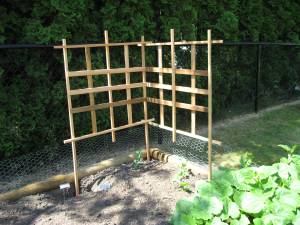
The Peas' Knees
I really enjoy having a vegetable garden, and here in our new house, I can! It’s the first time in 7 years I’ve been able to plant a garden, so I’m a bit over-the-top excited about it. After building the raised garden bed (which would have made a great post, sorry, I forgot to do photos, but will when I build the next one for the berry patch), I filled the bed with dirt, planted seeds, labelled rows and waited for sprouts.
The sprouts came! Maybe not as many as I would have liked, but they came none the less and The Renovator and I are very excited to have ‘fresh from the garden’ veggies! One thing I planted is peas. I don’t like them cooked, but raw peas? I could eat them non-stop! Yum! Once I’d planted the garden, I asked The Renovator to make me a pea trellis to hold up the peas’ knees. He said he would when the plants were tall enough to need the trellis. The recovering Type A in me didn’t care for that response, so a few weeks later I set out to make my own. Let me show you how to do it!
What you need:
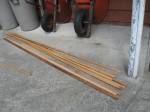
About $20 to buy materials – approximately 35′ of 1 x 1 and 35′ of lath (slats of wood you’d see like in a trellis on a fence)
Tape measure, pencil, saw (plus a mitre box if using a hand saw), brad nailer of some sort (some heavy duty staplers have the ability to shoot brad nails), rubber mallet.
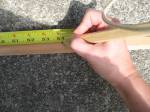
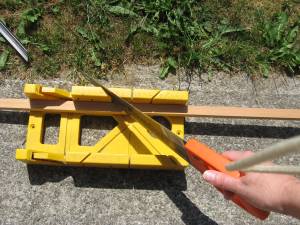
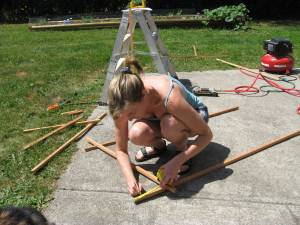
Lay your materials in two piles – the 1 x 1 in one pile, the lath in the other. Using the 1 x 1, mark 3 pieces at 54″ (4.5 feet), mark 4 pieces at 36″ (3 feet) and mark 2 pieces at 40″. Cut the bottom endof the 54″ pieces on a 45 degree angle, cut the top end at 90 degrees (straight) as well as both ends of the 36″ and 40″.
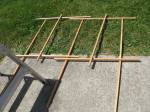
Lay your cut pieces out so that the long pieces (54″) are your left, middle and right. Lay 4 of the 36″ pieces across the long pieces – at right angles – to create a frame and lay the 2 40″ centre pieces parallel to the long pieces as shown (more material will hang over the top and bottom cross pieces).
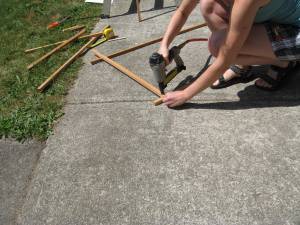
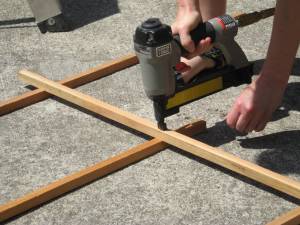
Take two of the long pieces and attach the upper cross piece for your first frame section (make sure the ‘angled’ cut on the long piece is at the bottom and not the top!). Be sure to measure and mark where you want the cross piece to sit on both long pieces so that it lines up. I chose to have my upper cross piece 2″ down from the top of the long pieces.
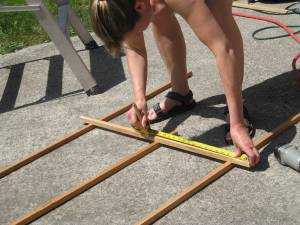
Measure and mark placement for the bottom cross piece. – I chose 36″ down from the upper piece – then attach the bottom cross piece.
Measure the centre point between the two outer long pieces on the top and bottom cross pieces. This will give you the position for your 40″ centre strip. Once marked, attach it at the top and bottom.
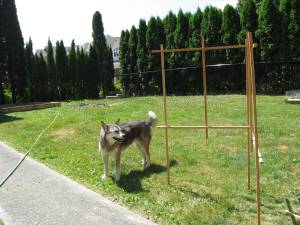
Great! 1 side of the frame is done! Now, the tricky part, we’ll build the second side onto the first side. My error was that I built my trellis on the lawn, which wasn’t level, and caused an ‘out of square’ end product. Be sure to work on a level surface, like the concrete patio where I did my cutting but not the building of the second half!
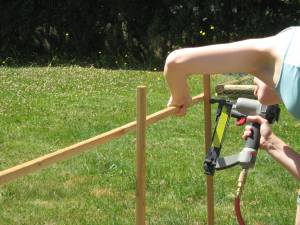
Now, take your upper cross piece for the second side, use the same measurements for placement as you used on the first frame and attach. Do the same with the bottom cross piece.
You’re ready to attach your last long piece to the upper and lower cross pieces for the second side. Again, be sure to measure and mark the same distances so that the two sides look alike.
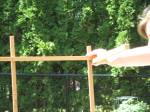
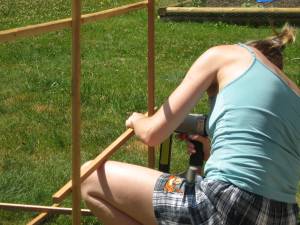
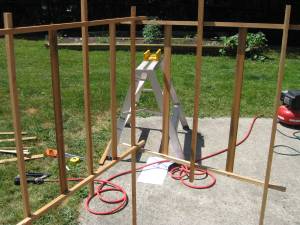
Measure the centre point between the two outer long pieces on the top and bottom cross pieces. This will give you the position for your 40″ centre strip on this second side. Once marked, attach it at the top and bottom. You should have something like what Brandie is showing here.
Great! The frame for your trellis is done! Now the easier part – measuring, cutting and attaching the lath. Measure the width of the frame for side one – long piece to long piece. Cut three pieces of lath at this measurement. Measure the width of the frame for side two and cut three pieces of lath at this measurement. Measure the height of the frame for side one – top cross piece to bottom cross piece. Cut two pieces of lath at this measurement. Measure the height of the frame for side two and cut two pieces of lath at this measurement.
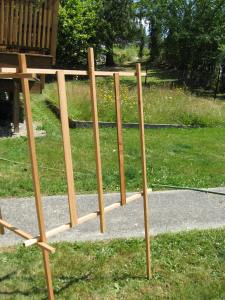
Measure the distance from the long outer pieces of frame one to the centre piece and mark the centre between the two on both the top and bottom cross pieces. Attach your first vertical strip of lath to the top and bottom pieces at these marks. Repeat for the other half of side one and the two halves of side two. You should have something like the picture here.
And finally, mark the long outer pieces of side one at their centres, from the top cross bar to the bottom cross bar. Attach your first horizontal strip of lath to the long outer pieces at these marks. Repeat for side two. Then, mark the long outer pieces 4″ up and 4″ down from your horizontal lath. Then attach your upper and lower horizontal lath pieces at these marks. Repeat for side two.
Now, you’re ready for the garden! Using a rubber mallet, gently pound the long pieces into the garden. Remember those angled cuts we made at the bottom of the long pieces? They make it easier to push the stakes into the dirt. Take care not to push on your cross pieces or lath slates as you put the trellis in. Although brads will stand the weather for at least one gardening season (probably more) they won’t withstand a lot of pressure from humans.
If you need any help, or if my instructions or pictures aren’t clear, just leave a comment and I’ll help you through it! knowing how to build a trellis as well as plant peas is just another reason I love being The Renovator’s wife.

Ronda Payne
A writer since she first held a pen, Ronda Payne – aka: the Girl with a Pen, is passionate about words. In 2007, she kissed ‘real jobs’ goodbye and began her true career as a copywriter, non-fiction freelance writer (magazines and other periodicals) and creative writer.
